http://code.google.com/intl/zh-TW/appengine/docs/python/gettingstarted/uploading.html
要上傳到google app engine 要先註冊
https://www.google.com/
附註,若有使用jdo 資料庫的功能的話,要先吧自動產生的資料移除
路徑 ../war/web-inf/
上傳步驟
1.
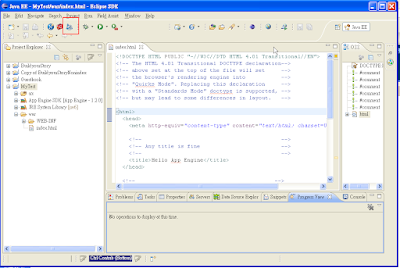
點選 App Engine deploy button
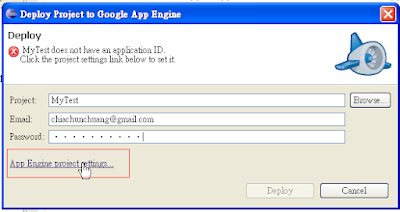
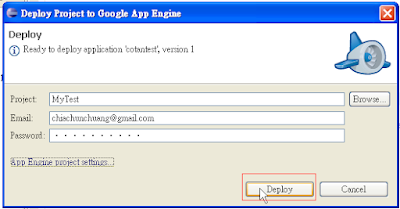
2. 設定專案名稱,google app engine 註冊的帳號密碼, 此外點選設定上傳的網域
3.
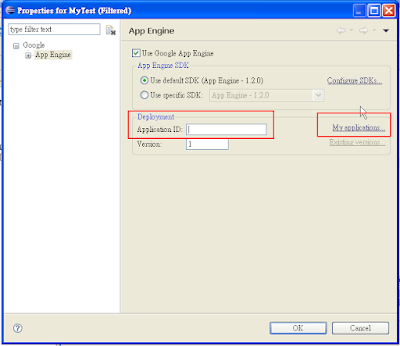
設定要上傳的網域,如果沒有可以點選右側 my application 設定,有的話跳到第5步
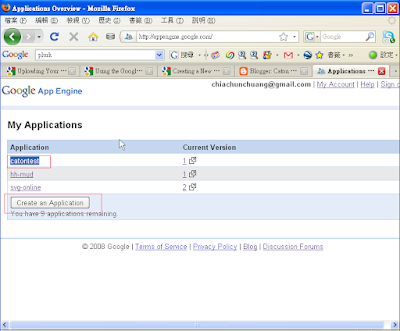
4. 列出以建立的清單 或按下方可以建立新的app engine 目前開放每個試用者十個app engine
5. 填入網域名稱及版本,點選OK
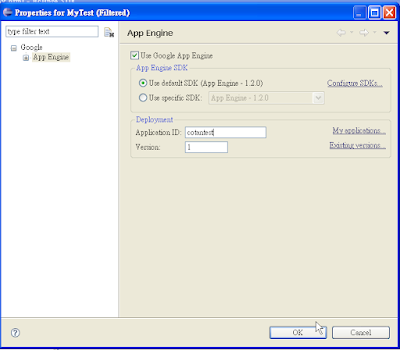
6. 點選 deploy 上載
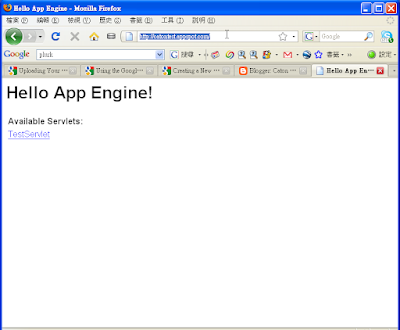
7. 點選 剛上傳的位置,如 http://catontest.appspot.com/,可以看到以上傳的程式
沒有留言:
張貼留言